Let me tell you about the worst podcast I have ever heard. The host used a $400 microphone, a $200 microphone stand, a $150 pop filter, and a $2,000 audio jack. The sound was terrible. Not because the equipment was bad, but simply because he didn’t know how to handle it. Every breath sounded like a tornado, every hiss like the hiss of a snake. In this “professional” setting, his amateur mistakes sounded incredibly expensive.
My favorite independent podcast, on the other hand, was recorded with a $60 USB microphone in a closet full of clothes. The host sounded like he was sitting across from you in a quiet café, having a pleasant chat. The difference wasn’t in the money, but in whether he recognized the key factors that truly influence sound quality and ignored everything else.
This is the second related article. Achieve professional sound without spending money. No sound engineering degree required.
The Gear Lie: What You Actually Need vs. What Marketers Sell
The podcast equipment industry wants you to believe that better equipment automatically means better sound quality. In extreme cases, that is certainly true – a $5 laptop microphone absolutely does not sound as good as a $400 condenser microphone – but the curve levels off quickly. With just $0 to $100 worth of software and basic hardware, you can achieve sound quality that 95% of listeners would call “professional.”
The remaining 5% consists of sound engineers. They are not your target audience.
Here’s what actually determines podcast audio quality, ranked by impact:
| Factor | Impact on Quality | Cost to Fix | Gear Head Priority |
|---|---|---|---|
| Recording environment | 40% | $0 | Low (boring) |
| Microphone technique | 25% | $0 | Low (no purchase) |
| Post-processing software | 20% | $0 | Medium |
| Microphone quality | 10% | $50-$100 | Extreme |
| Audio interface / mixer | 5% | $100-$500 | Extreme |
Notice the pattern. The things that matter most cost nothing. The things that cost the most matter least. This is the exact opposite of how most beginners spend their money.
The Truth: A $400 mic in a bad room sounds worse than a $50 mic in a good room. Environment beats equipment every single time.
Your $0 Recording Environment
Professional recording studios spend thousands on acoustic treatment. You can get 80% of the result with household items and spatial awareness.
The Closet Method
Small, enclosed spaces with soft surfaces are audio gold. Clothes absorb sound reflections that cause echo and reverb. A walk-in closet is ideal. A regular closet works if you can sit comfortably. The smaller the space, the fewer reflections bounce around.
What to avoid: Bathrooms (tile reflects everything), kitchens (hard surfaces + appliances), large empty rooms (echo chamber effect), spaces with windows facing busy streets.
The Blanket Fort Method
No closet? Build a recording cave. Hang blankets on walls behind and beside you. Put a towel on your desk. The goal is to eliminate hard surfaces within three feet of your microphone. Sound reflections follow the same rules as light — soft surfaces absorb, hard surfaces bounce.
I recorded my first 20 episodes under a duvet draped over a clothes rack. Listeners assumed I had a professional booth. The secret was just physics.
The Car Method
Surprisingly effective. Car interiors are small, filled with soft materials, and relatively isolated from external noise. Park in a quiet area, turn off the engine and AC, and record. The seats and headliner absorb reflections naturally. I’ve used this for emergency recordings when traveling, and the results consistently surprise me.
Pro Tip: Record a 10-second test clip and listen with headphones. If you hear your voice bouncing back (a faint duplicate slightly delayed), you need more absorption. If it sounds dry and intimate, you’re ready.
Microphone Technique: The Free Upgrade
Even the best microphone sounds terrible if you use it wrong. These techniques cost nothing and transform your audio:
Distance: Stay 4-6 inches from the mic. Too close and you get booming bass and breath noise. Too far and you pick up room reflections. Use the width of your hand as a rough guide — thumb touching your lips, pinky touching the mic.
Angle: Speak across the mic, not directly into it. Position it slightly above your mouth, angled down toward your chin. This reduces plosives (p and b sounds that cause distortion) without needing a pop filter.
Consistency: Once you find a good position, mark it. Tape on the floor, a specific chair setting, anything. Distance changes of even an inch are audible. Consistency is what separates amateur from professional sound.
Movement: Minimize it. Rocking back and forth, turning your head, or gesturing toward the mic creates volume fluctuations that are exhausting to fix in editing. Plant your feet. Face forward. Treat the mic like a conversation partner who doesn’t move.
The Free Software Stack
Here’s where the zero-budget promise delivers. Every tool below is free, open-source, or has a fully functional free tier.
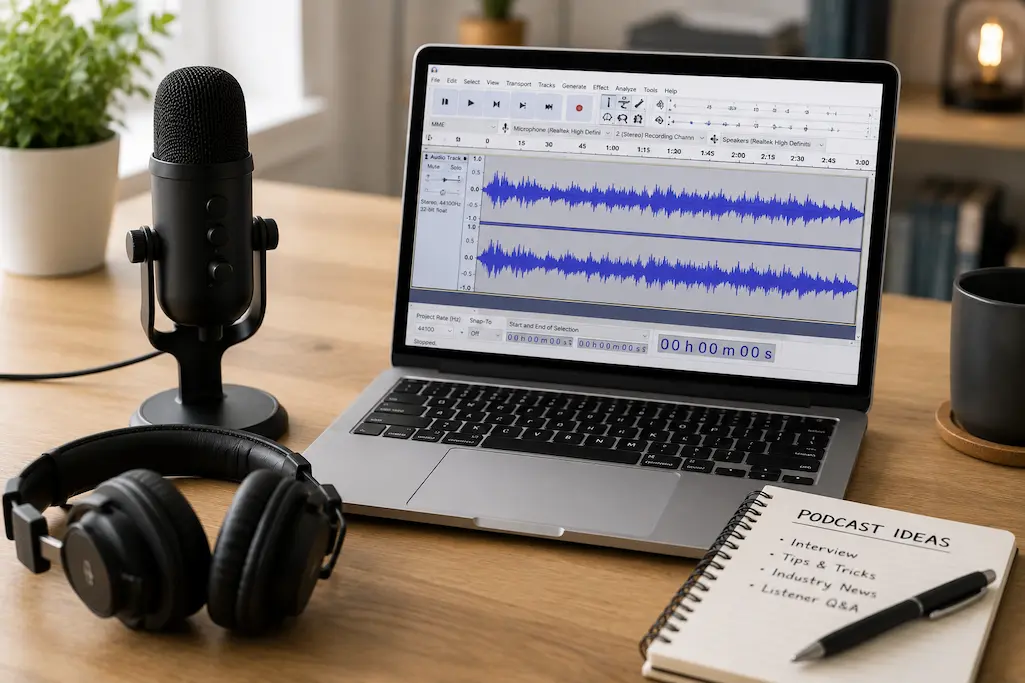
Recording: Audacity
Audacity has been the standard free audio recorder for two decades. It records multiple tracks, supports every major audio format, and runs on Windows, Mac, and Linux. The interface looks dated — it hasn’t changed much since 2008 — but the functionality is complete.
What it does: Records audio, edits waveforms, applies effects, exports to MP3/WAV/FLAC
What it doesn’t do: Real-time effects during recording (you hear your raw voice), cloud collaboration, automatic transcription
Learning curve: Low for basic recording, moderate for advanced editing
Remote Interviews: Riverside.fm Free Tier
Recording remote guests used to mean Skype calls with terrible audio quality. Riverside.fm records each participant locally on their own device, then uploads the high-quality files automatically. The free tier gives you 2 hours of recording per month — enough for most beginner schedules.
What it does: Records separate high-quality tracks for each guest, automatic backup, basic editing
What it doesn’t do: Unlimited recording (upgrade for $15/month), advanced post-production
Pro tip: Always have guests record a local backup on their phone as insurance. Riverside is reliable, but redundancy saves episodes.
Post-Processing: Auphonic
This is the secret weapon. Auphonic is an automated audio processing service that fixes levels, reduces noise, balances loudness to broadcast standards, and adds professional polish. The free tier processes 2 hours monthly. For most beginners, that’s sufficient.
Upload your raw recording. Auphonic returns a broadcast-ready file in minutes. The algorithms are trained on professional audio standards — you’re essentially borrowing an engineer’s ears.
What it does: Automatic leveling, noise reduction, loudness normalization (to -16 LUFS for podcasts), encoding optimization
What it doesn’t do: Creative editing (removing content, rearranging segments), heavy noise removal for extremely bad recordings
Hosting: Anchor (Spotify for Podcasters)
Anchor is completely free and owned by Spotify. It hosts your audio, generates an RSS feed, distributes to Apple Podcasts, Google Podcasts, and other platforms, and provides basic analytics. There are no storage limits. No bandwidth caps. No hidden fees.
The trade-off is limited customization and Spotify’s data collection. For beginners, the value proposition is unbeatable. Upgrade to paid hosting (Buzzsprout, Libsyn, Transistor) only when you need advanced analytics, dynamic ad insertion, or branded websites.
The Complete $0 Setup vs. The $100 Upgrade
Here’s the honest comparison:
| Component | $0 Setup | $100 Upgrade | Difference |
|---|---|---|---|
| Microphone | Phone earbuds mic or laptop built-in | Audio-Technica ATR2100x-USB ($79) | Noticeable clarity improvement, less noise |
| Recording space | Closet or blanket fort | Same + $20 foam panels | Marginal improvement if closet already works |
| Software | Audacity + Auphonic + Anchor | Same (all free) | None |
| Remote recording | Riverside.fm free tier | Same | None |
| Total sound quality | 7/10 (professional enough) | 8.5/10 (clearly better, not revolutionary) | 1.5 points for $100 |
The $100 upgrade is worth it if you podcast regularly and want the marginal improvement. But the $0 setup is genuinely sufficient to launch, grow an audience, and produce content that sounds professional. Don’t let budget be your excuse.
Reality Check: Content quality matters more than audio quality up to a threshold. A brilliant show with 7/10 audio will outgrow a mediocre show with 10/10 audio. Focus on what you say before obsessing over how you sound saying it.
The Editing Workflow That Saves Hours
Most beginners over-edit. They remove every “um,” every breath, every pause. The result sounds robotic and takes four times longer to produce. Here’s the efficient approach:
Step 1: Content edit (listen once, cut big sections)
Remove only major mistakes, long pauses, or segments that don’t serve the episode. Don’t touch the small stuff. This takes 15-30 minutes for a 30-minute episode.
Step 2: Run through Auphonic
Upload to Auphonic. Let automation handle levels, noise, and loudness. This takes 5 minutes of your time plus processing wait.
Step 3: Final listen (at 1.5x speed)
Check for anything Auphonic missed — usually just content edits you should have caught in Step 1. This takes 20 minutes.
Total editing time: 45-60 minutes for a 30-minute episode. Many beginners spend 3-4 hours because they try to manually perfect what software handles better.
When to Upgrade (And What to Skip)
As your podcast grows, you’ll face upgrade decisions. Here’s the priority order that actually matters:
- First upgrade: Better microphone ($79 ATR2100x) — only if your current audio has noticeable noise or lacks clarity
- Second upgrade: Paid hosting ($10-20/month) — when you need better analytics or want to own your RSS feed independently
- Third upgrade: Acoustic treatment ($50-100) — only if your recording space genuinely has echo problems
- Skip entirely: Mixers, audio interfaces, pop filters (use the angle technique), expensive headphones (any closed-back pair works)
The mixer and interface crowd will disagree. They’re not wrong for their use case — multi-mic setups, live streaming, music production. But for solo or remote-interview podcasting, they’re complexity without benefit.
Related Articles
- How to Turn Your Smartphone Into a Professional Video Camera
- Creative Block? These Digital Tools Break It in Under 10 Minutes
- How to Look Like a Pro Designer—Even If You’ve Never Opened Photoshop
- How to Extract Text From Any Image Instantly—No Paid Software Needed
- Stop Drowning in Downloads: One Setting That Organizes Everything Automatically
Sources and References
- Spotify for Podcasters. (2026). Anchor Hosting: Features, Distribution, and Analytics. Spotify Creator Portal. https://creators.spotify.com
- Auphonic. (2026). Automatic Audio Post-Production: Algorithms and Broadcast Standards. Auphonic Documentation. https://auphonic.com
- Riverside.fm. (2026). Local Recording Technology and Remote Interview Best Practices. Riverside Blog. https://riverside.fm
- Audacity Team. (2026). Audacity Manual: Recording and Editing Workflows. https://manual.audacityteam.org
- Audio-Technica. (2026). USB Microphone Comparison Guide: ATR2100x vs. Entry-Level Alternatives. Audio-Technica Product Documentation. https://www.audio-technica.com
About the Author: The InsightTrail team has recorded podcasts in closets, cars, and once under a hotel bed during a fire alarm. We believe good audio is about smart decisions, not expensive gear.

Sunita Voss wanders through software like a city flâneur—observing, testing, occasionally getting lost, always finding shortcuts. She writes about digital minimalism, hidden web tools, and tech hacks with the patience of someone who enjoys the journey and the urgency of someone who values her time. No gurus. No gatekeeping. Just discovered paths.